Finals are over and winter break is finally here. I’m so happy and in celebration of that, I’ve written this post on these awesome heart ornaments. This will also be the last DIY ornament idea I will post about this holiday season!
These heart ornaments are super easy, and mostly consist of gluing on little embellishments here and there. Below are step-by-step instructions of how I made them, everything I used to make them, and where you can buy the supplies.

This post contains affiliate links. As an Amazon affiliate, I earn a small commission from qualifying purchases of the products featured in this post.

What you will need:
- Heart Cutouts
- Present Embellishments
- Snowflake Confetti
- Pencil/Ballpoint Tool
- Crafting Tweezers (optional)
- Glue/Adhesive
- Paint Brush
- Glitter
- String

Step 1: To do the glitter border, I mixed together Mod Podge and glitter. (A glitter glue pen would be much easier. I need to get some! If you do have a glitter pen, skip this step.) Begin with about a dime sized dab of glue. I use an old bottle cap that I use to mix paints. Add a good amount of glitter to the glue and mix it together. It might look weird while its wet, but as long as you have a clear drying glue, it will look fine when it’s dry.


Step 2: Now to draw the glitter border. I wish I had a ball point tool for this part, but I just used the tip of a mechanical pencil and it worked great! I start out with a rough outline first, then let it dry.

Step 3: Now that the first coat of the border is dry, you can add a second coat to make the glitter really stand out, and fix any spots that you might’ve left out or messed up on. The photo below is with two coats once it’s dried.

Step 4: Now for the snowflakes in the background. I used snowflakes from a pack of Christmas-themed confetti. Just add some glue to the back of the snowflakes, and stick them on. Tweezers help out a lot this step too. Also, you can play around with what you’d like, there are many different options you could go with!

Step 5: Gluing on the little presents is similar to the snowflakes. Because the presents are a bit thicker than the snowflakes, I add a pretty generous amount of glue to the back to make sure they won’t fall off.


Step 6: Once the present is dry, I add two thin layers of Mod Podge over the whole thing to keep it sealed and safe from being damaged. This will help seal the glitter, snowflakes, and present so they are secure. Just make sure to let it dry between layers.

Step 7: All that’s left is to add string! I chose to do a thin twine to make them look a little rustic. The hearts I used already had holes cut into them to make this step much easier. Like all my ornaments, I tie the string into a little bow, and add adhesive to the knot of the bow to keep it from coming undone.

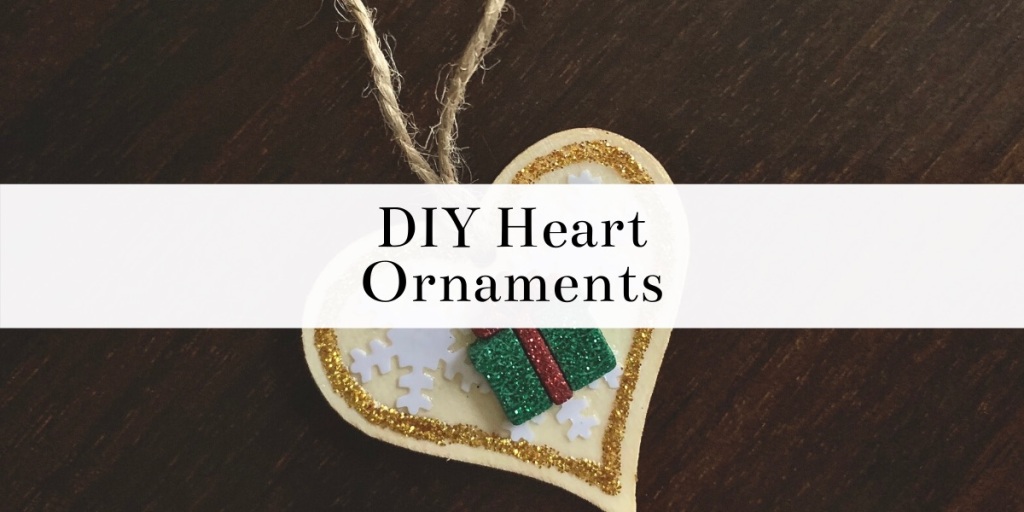
Now your ornament is finished! There are so many different options with these little hearts. It’s fun to play around and see what you like! Below is a photo of mine once finished.

Thanks for checking out my last ornament idea of the season! My apologies for it being a bit last minute. Wishing you all a good weekend and a happy holiday! 🎄
Supplies Used in this Post:


Leave a comment