I have been seeing these tabletop trees all over the place, and was dying to buy some. The only thing is they’re quite expensive in stores, and I’ve seen lots of inspiration DIY trees, which made me come up with my own! Below I will show you how to make these trees and all the supplies you’ll need.

These trees are much easier to make than I expected. All I used were old paper bags from the grocery store. I rolled them up into cones then wrapped them with the twine, and they turned out to be super strong and sturdy for just being made from paper bags!
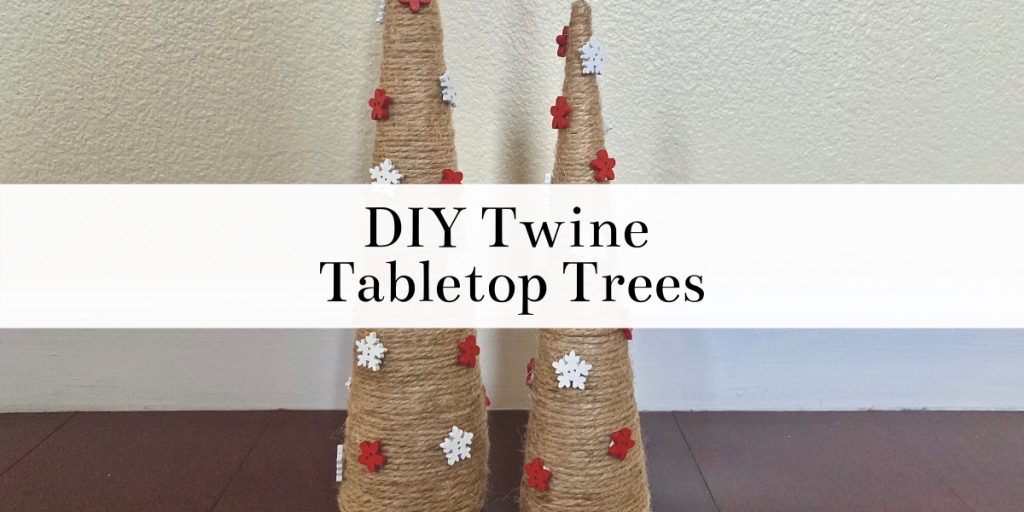
I also added the little red and white buttons to make it seem like ornaments on the trees, but they look just as good without them!

This post contains affiliate links. As an Amazon affiliate, I earn a small commission from purchases made of the products featured in this post.

What you’ll need:
- Paper Bag
- Thick String/Twine
- Adhesive/Gloss
- Buttons (optional)
- Paint Brush
- Scissors
- Tape
Most likely, you already have paper bags, scissors, and tape at home. The other supplies might be tougher to find, so I’ve linked them in the list above.
Step 1: Start by gently pulling off the handle and cutting out the large side of the paper bag. Then begin tightly rolling the piece of the paper bag with one end pointed, like a cone. The photo below shows what I mean.

Step 2: Once the whole piece is rolled, tape down the edges to hold it together while you glue on the string.

Step 3: Now cut the large bottom end of the cone to make it straight so that it can stand up. I’ve noticed using smaller scissors helps a lot with this part.

Step 4: Now we can start gluing on the twine. Add a good-sized amount of glue to the very top of the cone to get started.

Step 5: Start wrapping the twine around the paper cone at the top, you may have to overlap the twine at the top to get it to hold while the glue is drying.

Continue wrapping the twine around the cone, adding glue as you go before you wrap. Try not to wrap it too tightly, or it will start to warp and add ridges towards the end of the paper cone.

Step 6: Once you get to the end, cut off the twine. You’ll have to overlap it a little in order to keep the bottom even, so add some glue underneath the end, push it down onto the glue, and add some more glue on top to keep it sealed.

Step 7: (optional) Now you can start adding any embellishments if you wish. I added these cute snowflake and flower buttons to make it look like ornaments on the tree. I thought it looked just as good without them too. It’s all personal preference! I just wish I had a little star I could add on top as a little tree-topper.

I’m so happy with how these turned out, and very glad I didn’t end up buying any in stores when I can make them myself so easily. Hope you guys like them as well!

Below are all of the supplies I used in this post. Simply click on what you need to be directed to the product’s page on Amazon.


Leave a reply to Babychaser Cancel reply